
Mounting the IOS images is a simple task, however you might need to analyze and look for the correct image before you mount it to the GNS3 application. Since GNS3 is a dump software, you must have good understanding of the Cisco routers and switches series, their IOS images, and how to configure the routers. GNS3 is, by no means, any Cisco training application. It is just for practicing purposes which assumes that you already know much about Cisco and its products, and you just want to explore and expand your skills to get expertise in your profession.
The process of mounting IOS images on GNS3 is as below:
- Log on to the computer on which GNS3 is installed.
- Initialize the GNS3 application by double-clicking its icon.
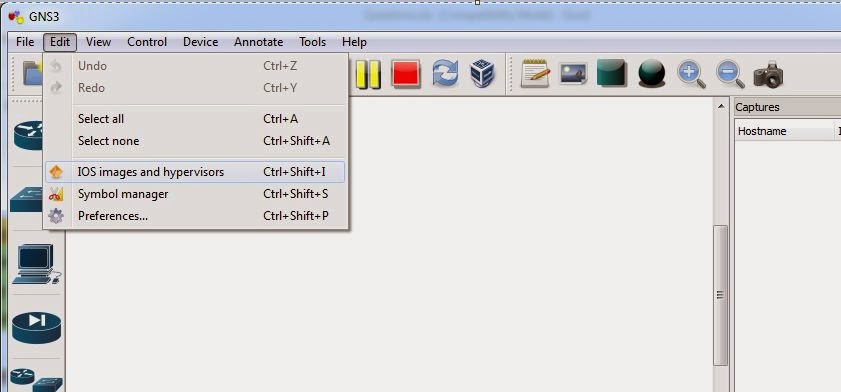
- Once opened, click Edit from the menu bar.
- From the displayed drop-down menu, click IOS images and hypervisors.
5- On the opened IOS images and hypervisors box, click the browse button representing theImage file field.
7- On the IOS Image confirmation box,click test settings to verify the file and then, click OK to allow the GNS3 software to compress the image file.
8- Click the Save button to save the mounted IOS image file.

9- Once done, click Close. Optionally you can also click the Auto Calculation button representing the Idle PC label to improve the efficiency of the application. You can also configure Idle PC value later.
DOWNLOAD GNS3 IOS HERE
***IMPORTANT*** ---->> for openning the file GNS3 IOS, you'll need this program "WINRAR", feel free to download HERE
(free download)")

")
")


